
Getting started with Azure CLI v2 and IoT Hub on Windows
 Version 2 of the Azure CLI was released recently and with the added power of PowerShell, we can accomplish some truly amazing things!
To get started download Python 3.5 and install it using the relevant platform link here. I prefer to put python at the root of my C drive usually in a directory called C:\Python35, which is not surprisingly, right next to an installation of Python 2.7, in C:\Python27. As you work through the installation prompts, be sure to install PIP, the python package manager, and have python added to your path.
After installation, you’ll likely need to upgrade PIP to the latest version which can be done by opening a PowerShell administrative terminal and issuing the following command:
python -m pip install --upgrade pip
With PIP updated, you can now install the Azure CLI v2 using the same PowerShell terminal window by issuing the following command:
pip install azure-cli
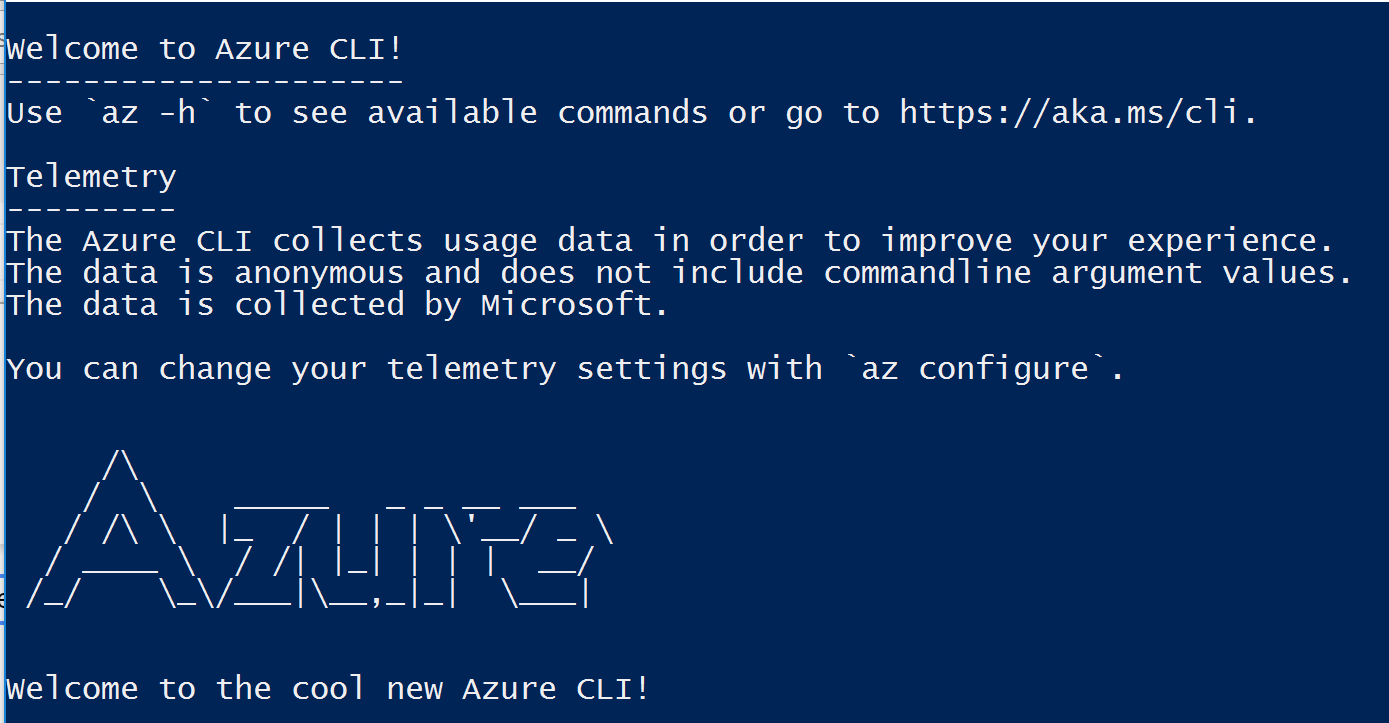
Once the installation completes, you can now type Azure CLI commands at the PowerShell prompt. This command will bring up the help for the CLI:
az -h
Let’s log into our account using:
az login
The CLI will present a token and a URL to visit to authenticate your machine.
Follow the onscreen instructions to complete the authentication procedure.
Now, list all your available subscriptions:
az account list
Set the subscription to use in creating a new IoT Hub. I’ve chosen to use my Visual Studio Enterprise subscription to take advantage of the free credits:
az account set --subscription "Visual Studio Enterprise"
Before we can create an IoT Hub, we’ll need a Resource Group to put it in, this will make for easy clean-up later. Use the following command at the PowerShell prompt to create a new resource group:
az group create -l westus -n MyResourceGroupName
We can now create a new free tier IoT Hub in that Resource Group:
az iot hub create -g MyResourceGroupName -n DemoIoTHub --sku F1
We can explore all the relevant IoT Hub CLI commands with
az iot hub -h
Let’s view the iothubowner connection string:
az iot hub show-connection-string
With only a few easy commands, we’ve now got ourselves a IoT Hub up and running in Azure!
One added benefit to using the PowerShell terminal in this case is that we can easily mix and match CLI commands and PowerShell commands. To prove this out, I cloned the AzureIoT Protocol Gateway to my machine and using the following commands, pushed my IoT Hub’s connection string into a configuration file:
$file = (Get-Content .\FrontEnd.IotHubClient.json) | ConvertFrom-Json
$file.ConnectionString = (az iot hub show-connection-string |
ConvertFrom-Json | Select-Object -first 1).connectionString
(ConvertTo-Json $file) | Out-File .\FrontEnd.IotHubClient.json -Encoding ascii
Go forth and whip up some of your own Azure CLI & PowerShell magic!
Happy Coding!