
Simple Disk Space Check on Scan w/ UpGuard
 One of the few joys I have at work right
now is that IT has given me carte blanche with respect to managing our
engineering environment - they keep the power on and the network functioning.
One of the few joys I have at work right
now is that IT has given me carte blanche with respect to managing our
engineering environment - they keep the power on and the network functioning.
One of the few things I detest is that IT has given me carte blanche with
respect to managing our engineering environment - the only thing they do is
keep the power on and the network functioning. This un/fortunate position I
find myself in means keeping the infrastructure for 8 devs and QA running
smoothly, which is frankly no small feat.
Given that I find my time rather precious, automating tasks is usually top of my list whenever infrastructure is involved. Lately our packaging server has been running out of space as the CI system has made it so painless to rebuild and repackage software. The task of cleaning out old builds and archiving could be automated except that we occasionally have long running projects that should not get auto-archived, and frankly manual review before archiving is not a horrible waste of time anyway. So rather than lean on the Task Scheduler to help me watch for disk space consumption, I’ve turned to my trusty installation of UpGuard for a helping hand.
The above Powershell simply checks the amount and percentage of free space available on all mounted drives that have a size value. It returns a bool since UpGuard does not currently allow actions on policy failure. Ideally you would configure this script as a policy and on policy failure it would email select parties the details of space allocation per drive and signal them to address it, or perhaps auto add comments to the created task; but for now, this is the best what we can do.
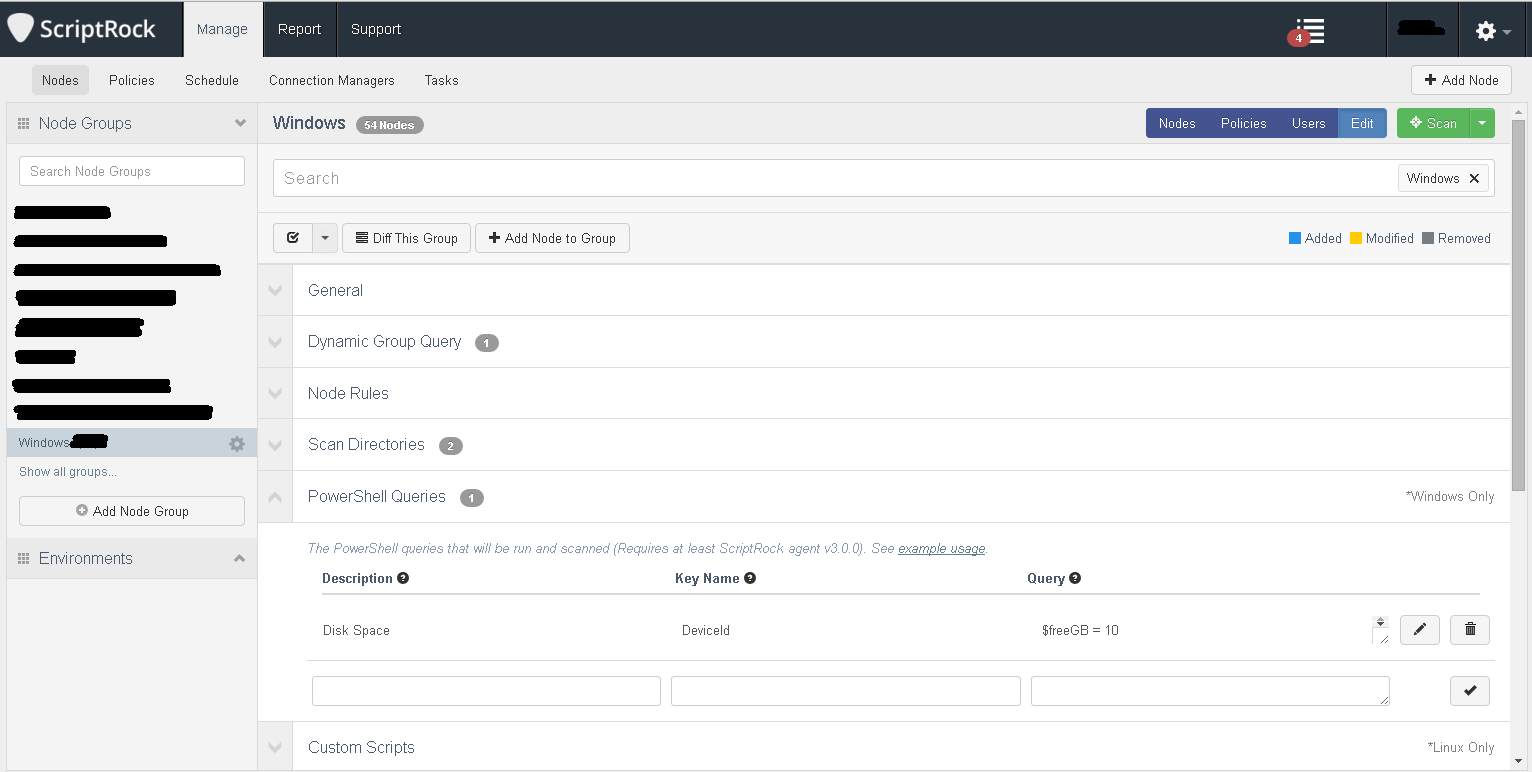
Setting up the script to run on a group of nodes is quite simple:
- Create a new node group that represents all of the systems that should have this space scan applied.
- Press the gear icon next to the node group to bring up the scan options.
- Under ‘Powershell Queries’ create a new query.
- Enter the name for the query, enter ‘DeviceId’ as the Key Name, paste the Powershell into the Query section and accept the change.
- Scroll to the bottom of the scan option pane and press ‘Save’.
On the next scan of your environment, UpGuard will pickup the baseline for this value and on subsequent scans tasks will be created if the value changes. When/If policies come back with finer grained control, optional scan schedules or policy failure integrations, then moving this check from a scan option to a policy will be more helpful.
Happy UpGuardin’